Designing a new block, for Bam Cal 2023 in Ravelry – for testing purposes in my group. The Final pattern will be a downloadable PDF. Copyright by Adrienne Wilson
tester code for Rav – TEST-AW-9ELMSF Summer Garden
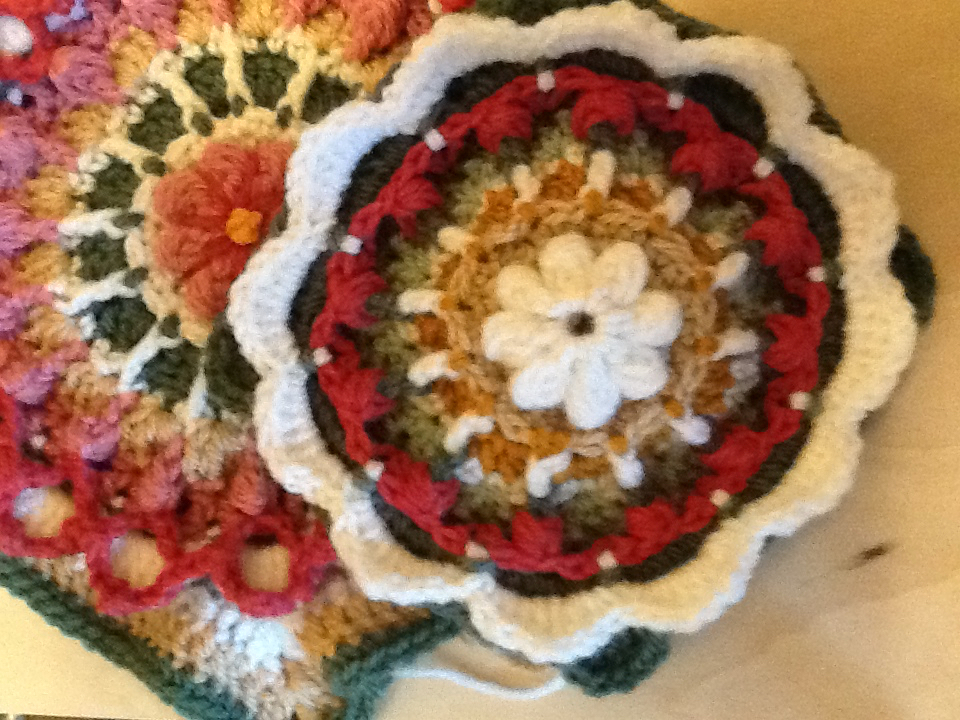
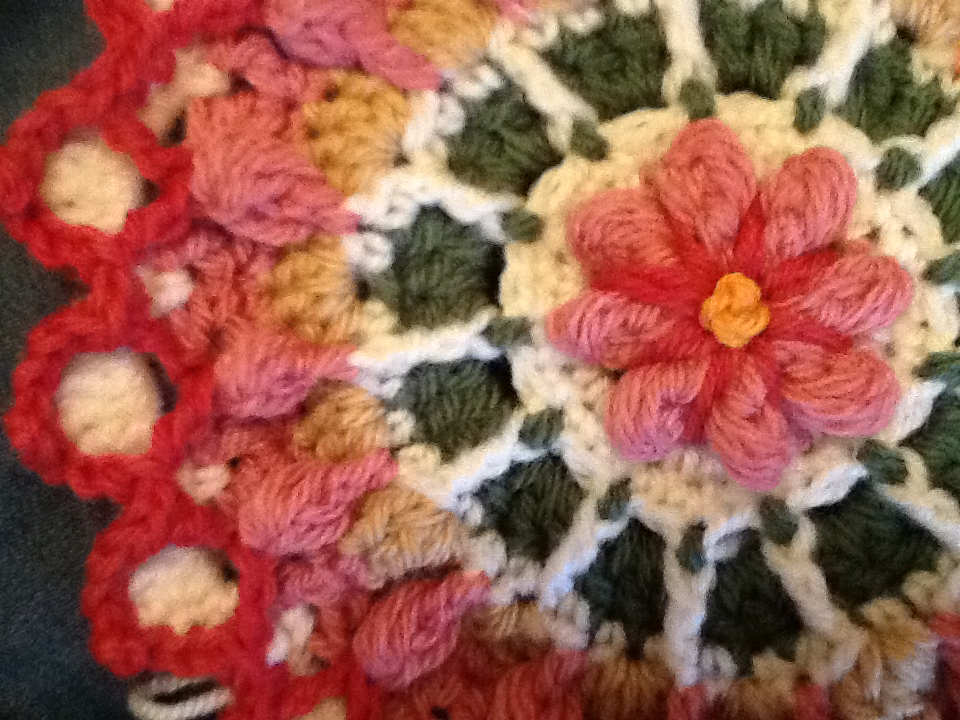
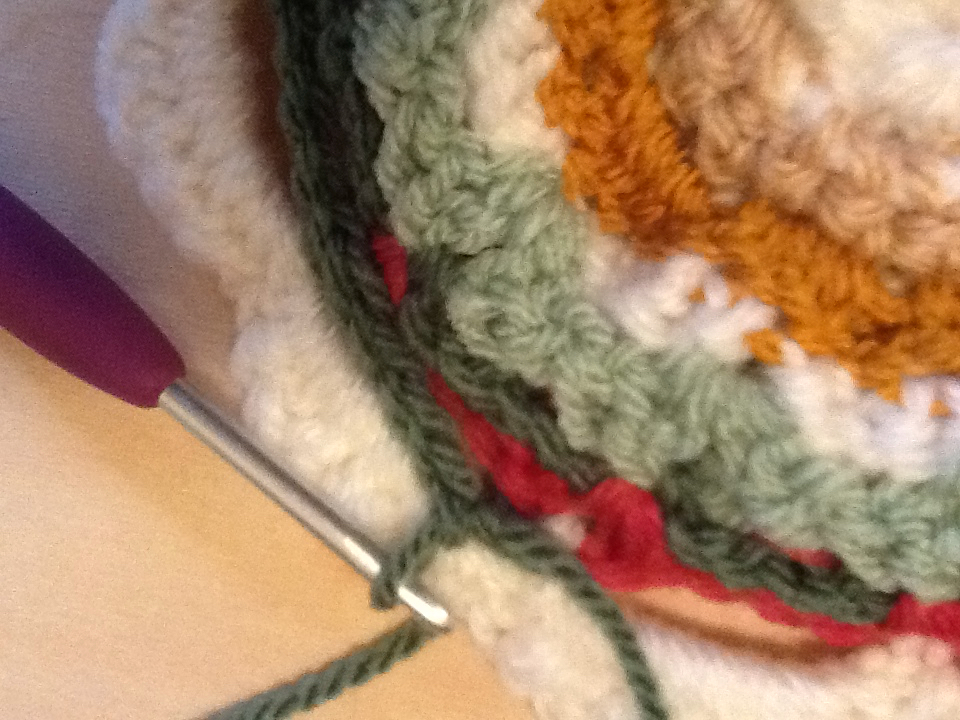
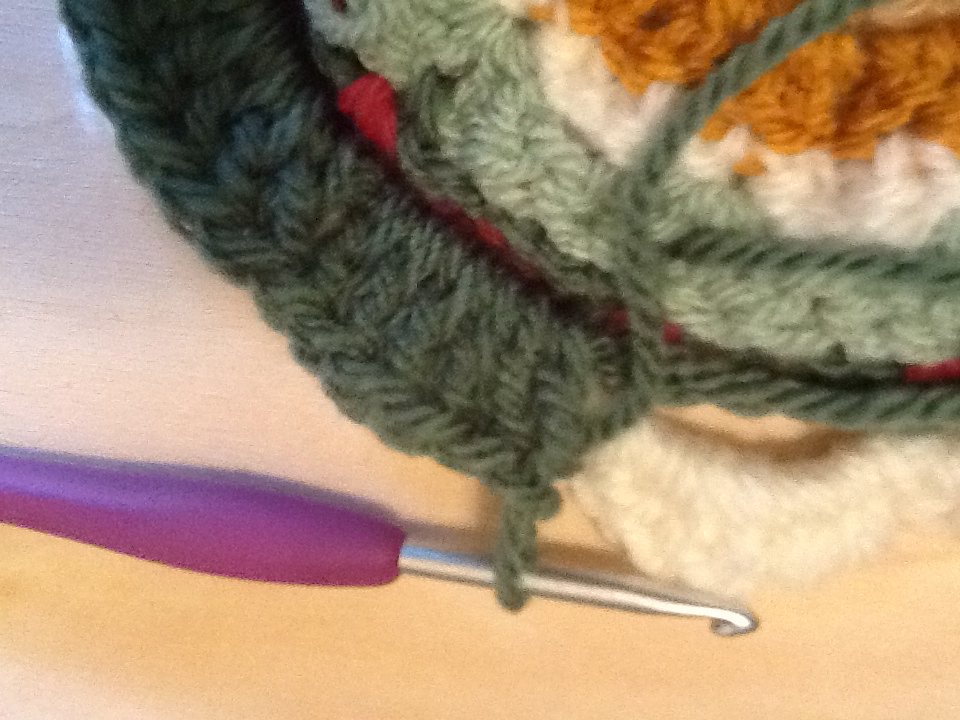
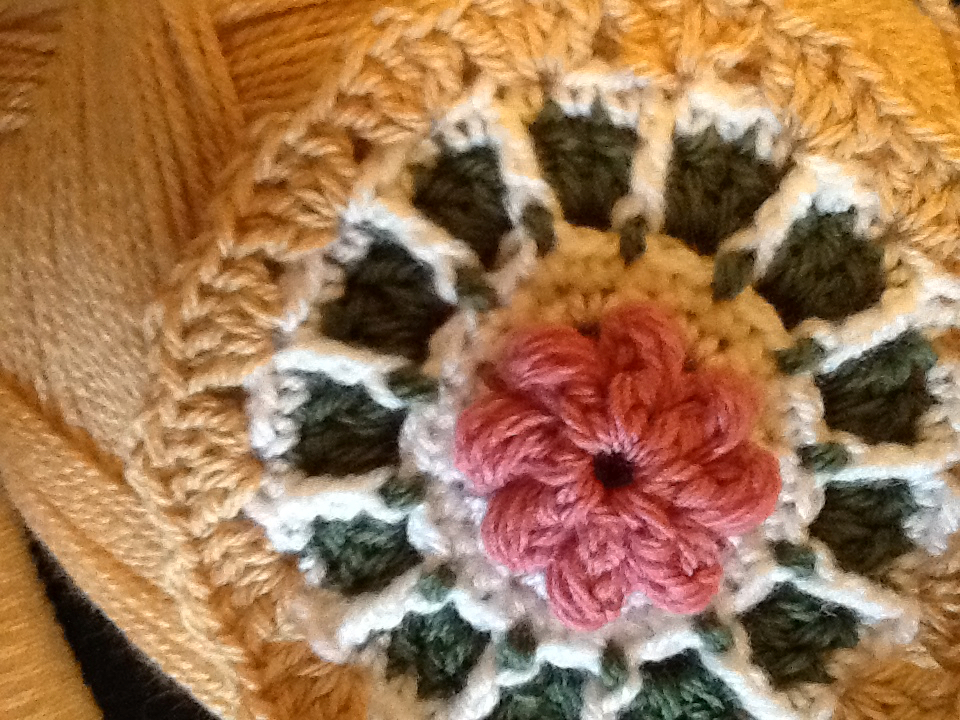
Summer Garden is a textured square with a raised flower. Round by round images follow each row. The square can be made as a 6″‘ or larger. I used a 4″ hook, and primarily yarn from Stylecraft on these first samples, but, I loved the color ranges in Wool of the Andes as well.
Summer Garden
Flower Crochet Square
Design by Adrienne Wilson – copyright Adrienne Wilson – all rights reserved.
Row 1 – chain 6 and join with slip stitch to close.

Row 2 – chain 5 (acts as first DC, chain 2) 7 more DC chain 2’s in ring, gives you 8 spokes. Slip stitch to close.
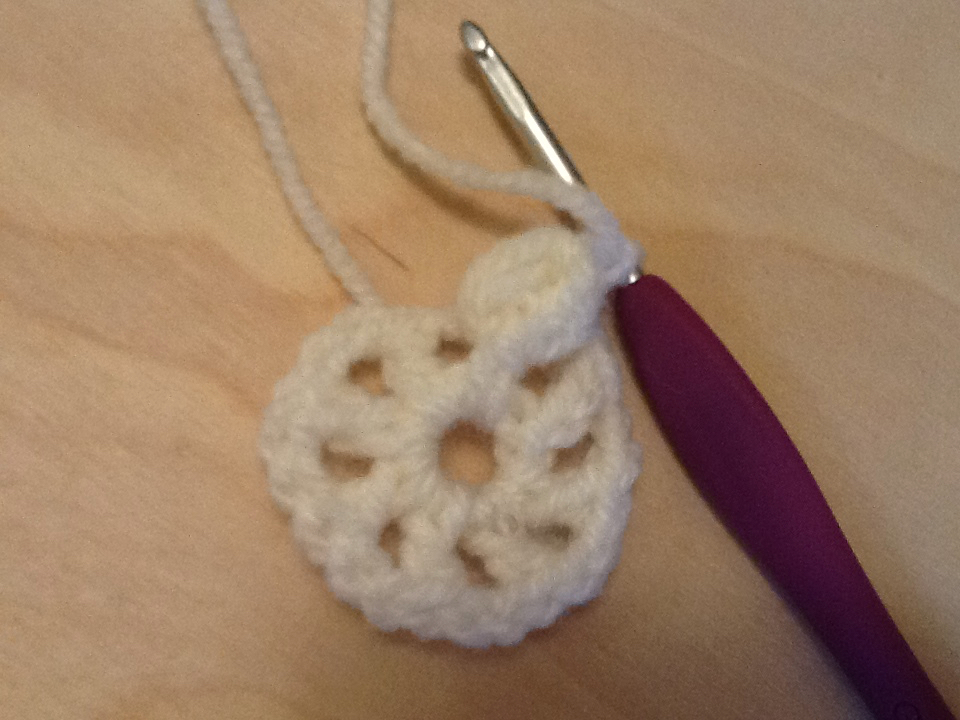
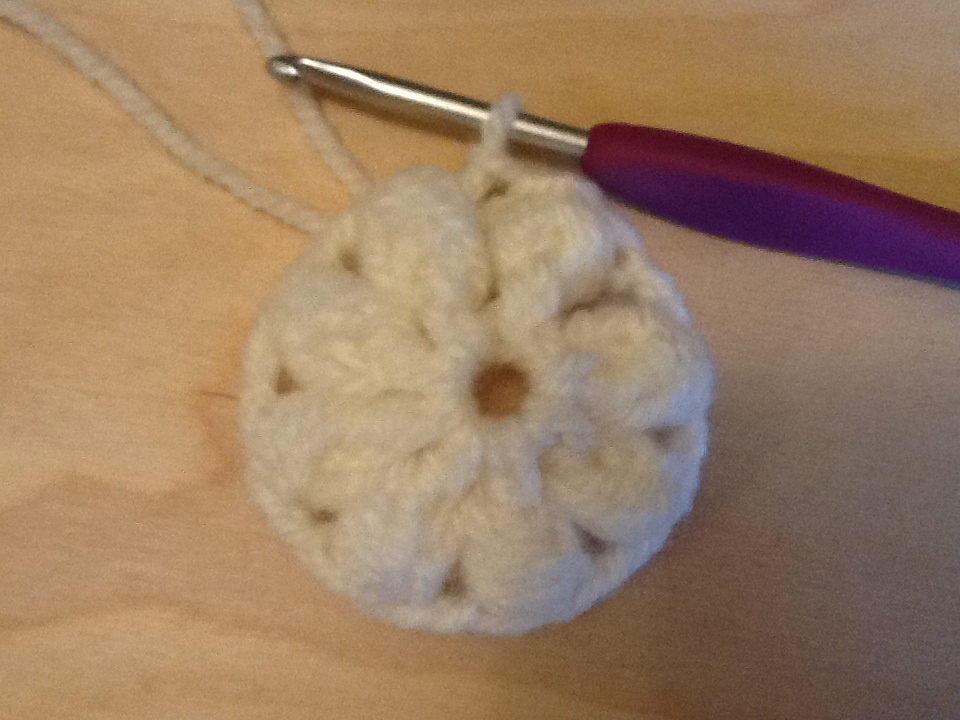
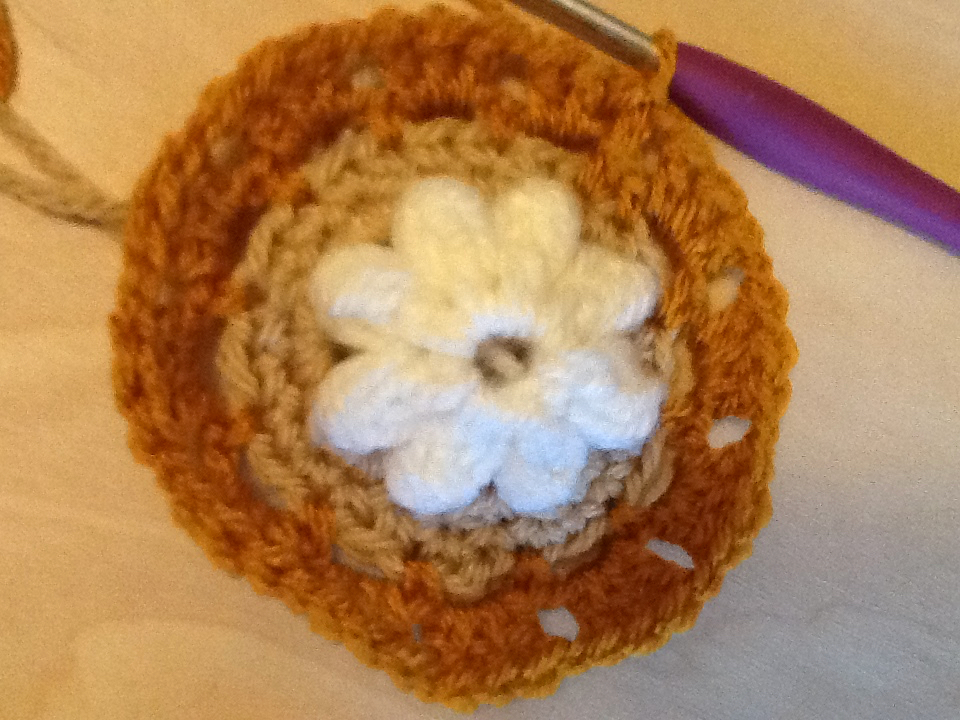
Row 3 – around each DC, yarn over and pull up a loop 4 times, chain one to close, chain one. Repeat until each spoke has a petal top. Slip stitch to close. (8 petals, 8 chain one spaces)
Row 4 – add new color, in any SC space, two SC’s, FPSC around each flower petal. Repeat 7 times. Slip stitch into first SC to close. (16 SC’s 8 FPSC)
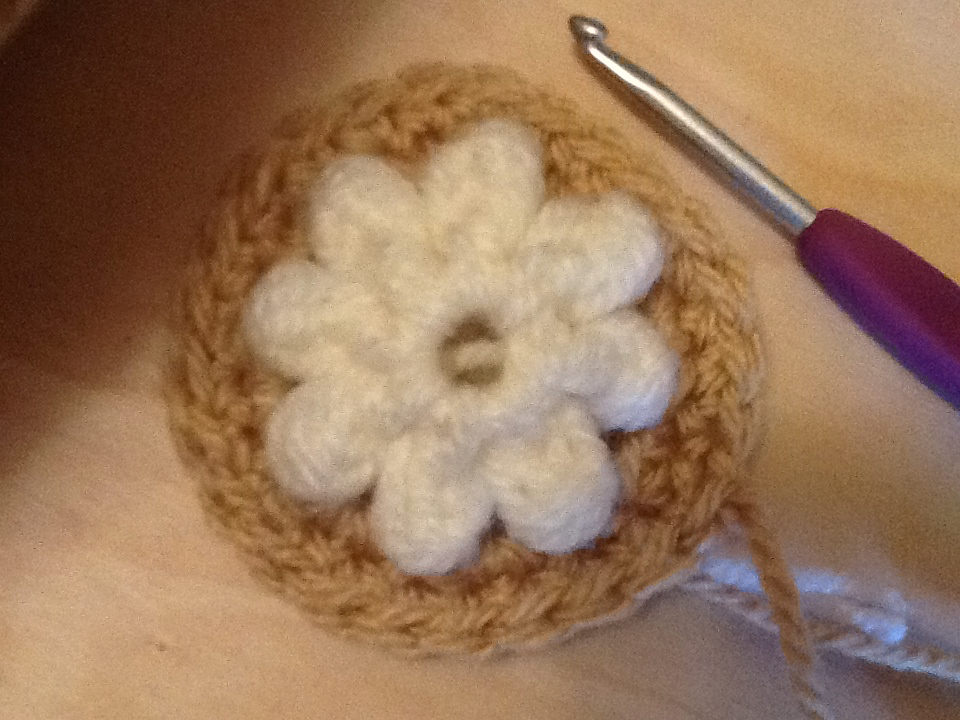
Row 5 – SC in all SC’s. Slip stitch to close (25 SC’s)
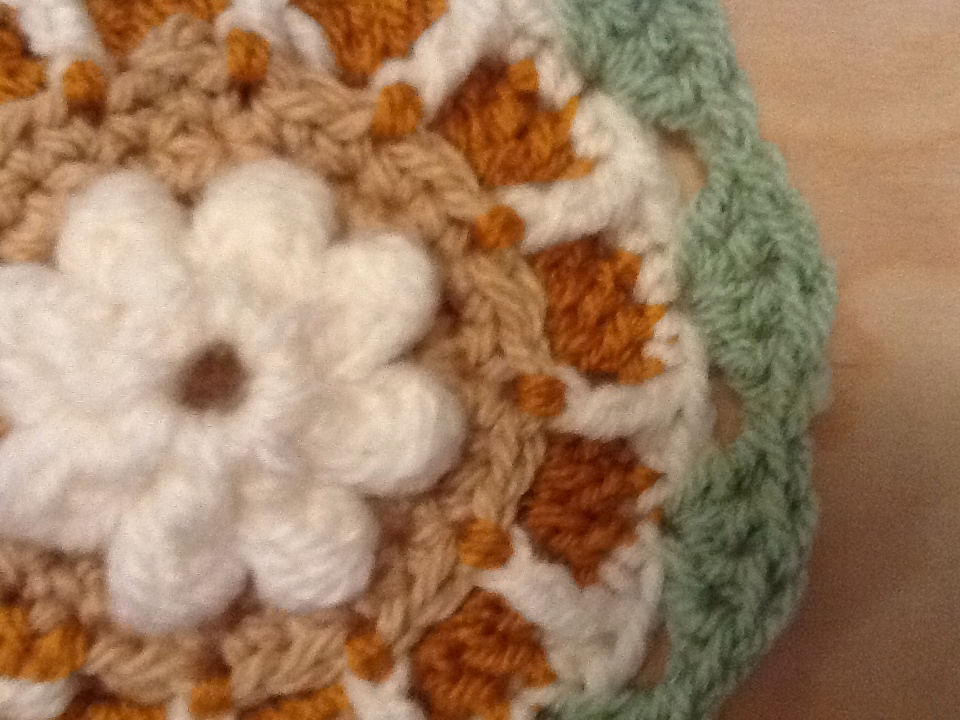
Row 6 – In any SC, with new color join with an SC. Chain 3, skip one, SC. Repeat around circle. 12 or 13 chain 3 spaces. Slip stitch into first SC to join – Keep yarn same for round 7. (Use 13 if making larger square)
Row 7 – 3 DC’s into each chain three space from previous round, chain one between each group. (12 or 13 groups of 3 DC’s)
Row 8 – In first DC of a 3 DC group, SC in next three DC’s. FPTC and catch SC from round 6, SC in next three DC’s. Repeat around (13 FPTC – 13 3 SC)

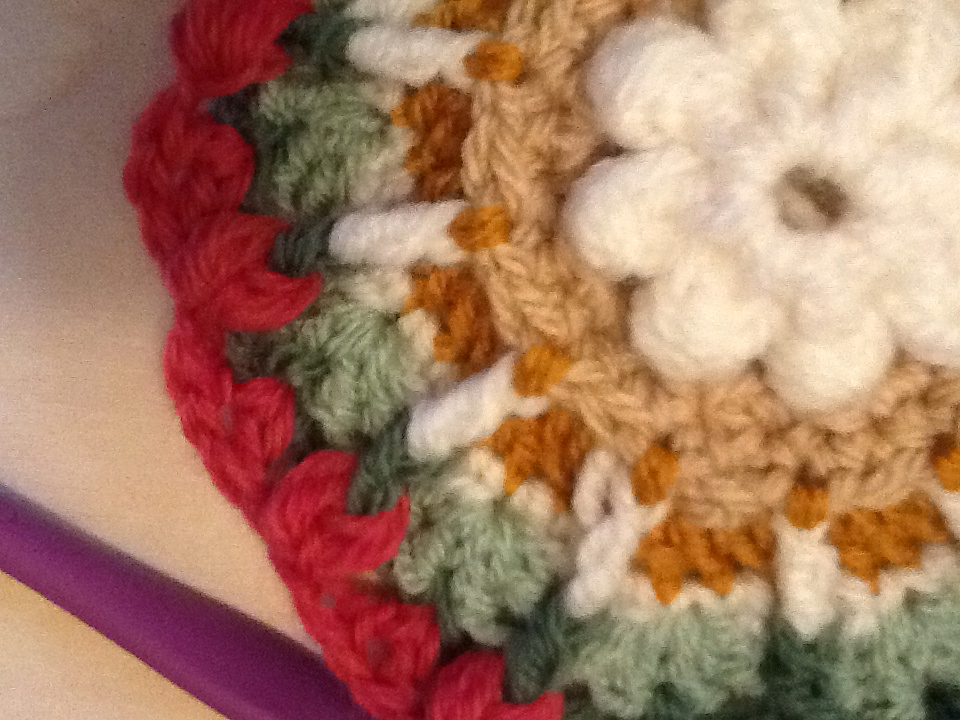
Row 9 – Join new color at top of FPSC, Chain 3 as first DC, 3 DC’s in same space,skip to middle stitch and repeat 4 DC groups around. (12 DC groups) or 13 for larger square.
Row 10 – Join new color in any SC row 9 between two DC Clusters — chain three (as DC) chain 2, SC in space between the two DC’s chain two and make FPDC around spoke, repeat around. (12 DC’s total). (or 13 for larger square)

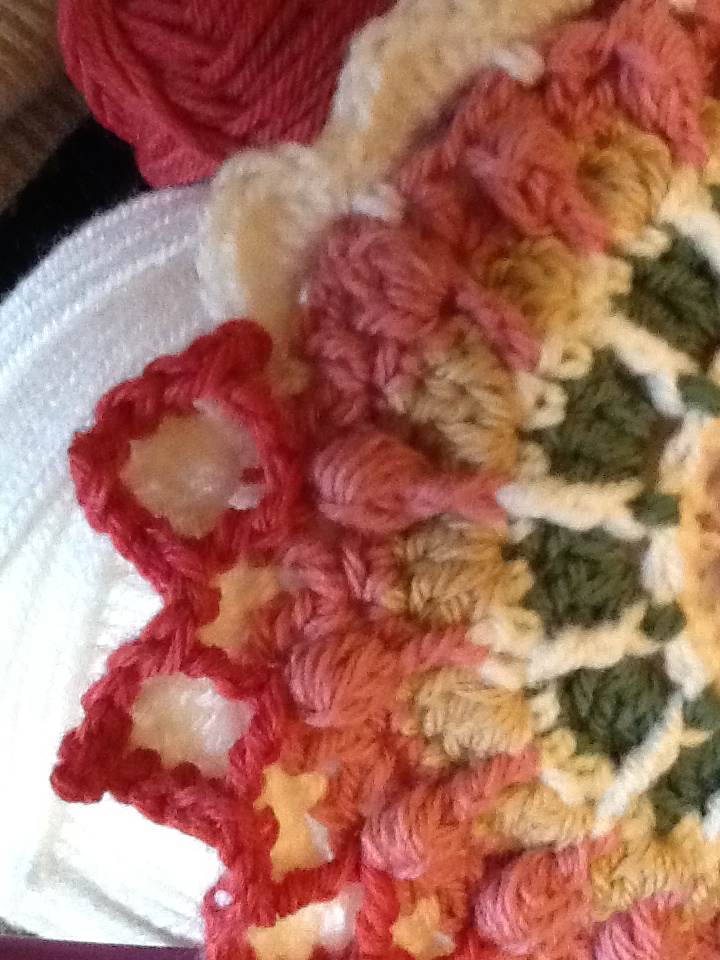
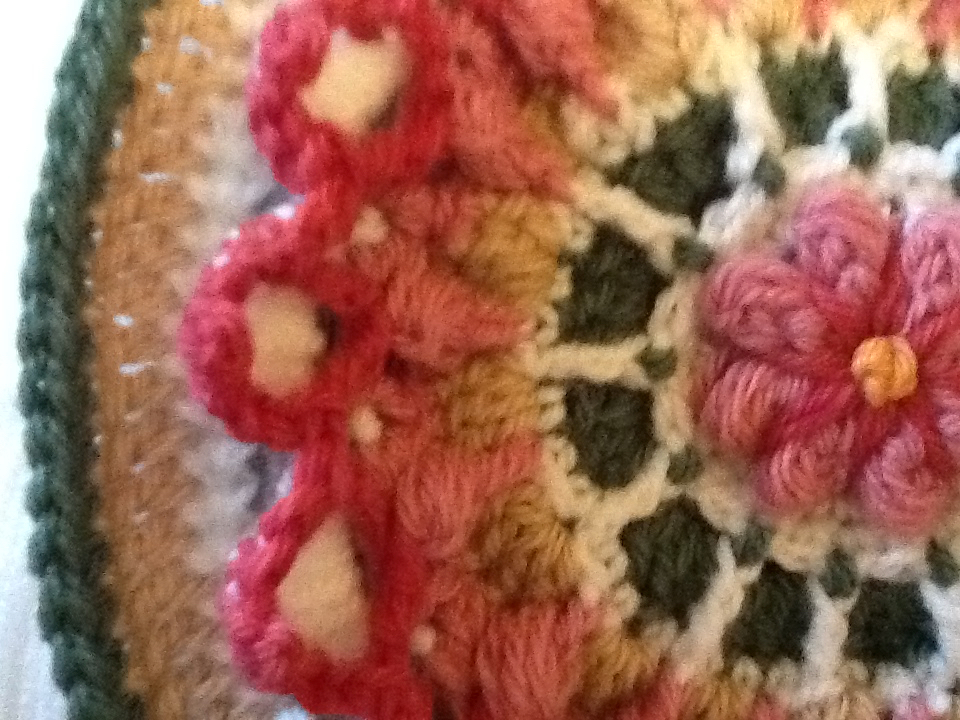
Row 11 — Join new color, SC around any DC spoke, proceed to make petals, as you did in round three –yarn over 4 times, close with chain 1, in next SC space atop DC clusters, make DC chain one DC. Repeat around — 12 petals, 12 V stitches.
Row 12 – Join new color, in any 2 DC cluster, in one chain space between with a SC. Chain 5 and skip to next chain one space – repeat around. Slip stitch into first SC, do not change yarn for next round.
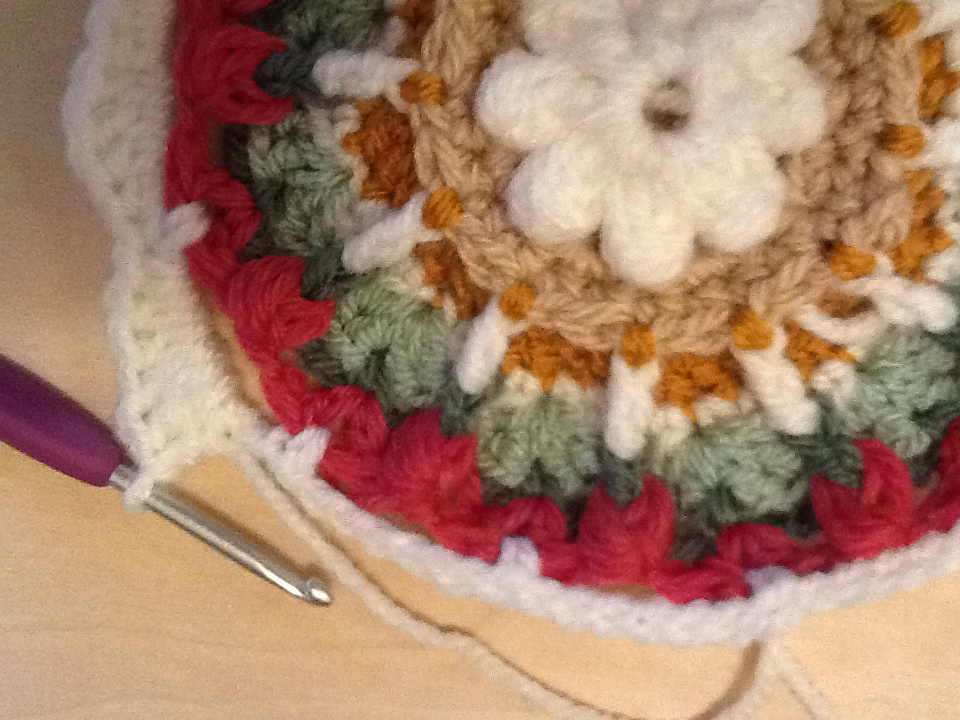
Row 13 – Chain one, in next chain space, one SC, two HDC, two DC, two HDC, one SC – repeat around. (12 Petals) Join to first SC with slip stitch to close round.
Row 14 — Flip work, you are working on wrong side. SC around each SC from previous round. Chain 5, continue around anchoring stitches with an SC, and chain 5 all around.
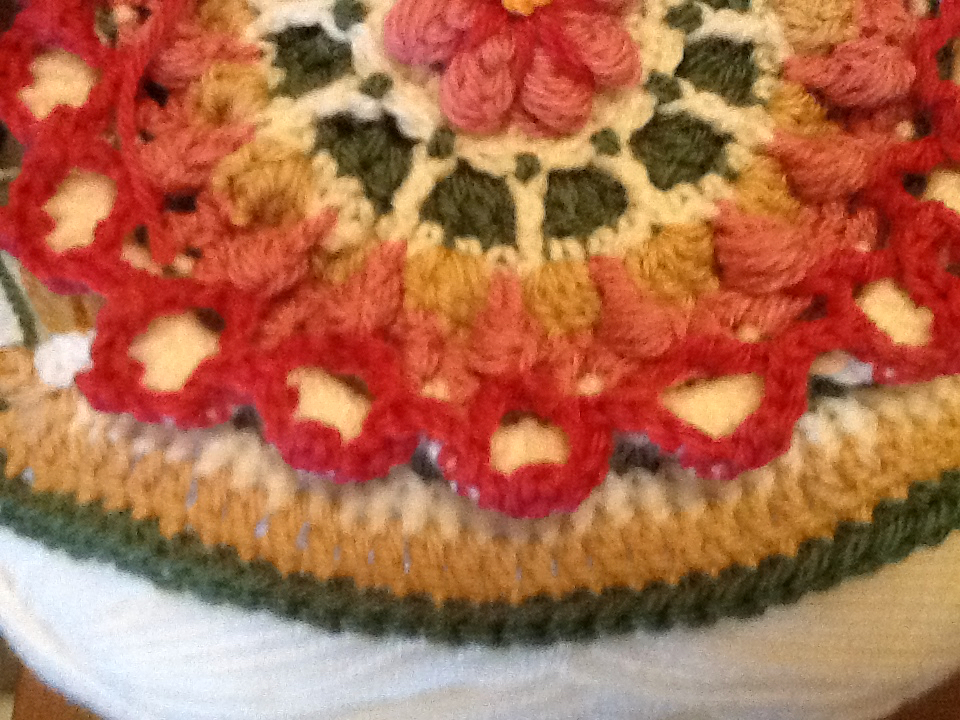
Next rows will begin to build the square, behind the circle, and create our corners.
Row 15 — working with wrong side facing, slip stitch into the first chain five space. In each space make 6 DC’s around. (12 DC groups) (13 for larger) You will be crocheting looking at the right side, but don’t worry! The row is well hidden, when we flip work back.
Row 16 – First corners.
For small square – use strips of yarn to mark for corners, each group of three 6 DC’s. 2 DCs 1 SC, 2 DC’s – FPHDC in all stiches until next corner. Repeat around.
This pattern will give you the 6 inch block. For the larger block, which has a fancy new edge and embroidery, that will be going into the PDF. The small square is for testing purposes.
ROW 10 — PETAL — V stitch — PETAL – no spaces (18 petals) V stitch between, no spaces except chain one in V stitch between DC’s.